- Home
- How to Assemble a Wedding Colonnade System
How to Assemble a Wedding Colonnade System
When considering what to choose for the look and feel of your wedding, you won’t find a more beautiful backdrop for your special day than a colonnade system! Adding a wedding colonnade transforms even the plainest room into an event-worthy space—and they make the perfect, picturesque frame for your ceremony!
Although our colonnades look complicated, they’re not. That’s the secret! They look elegant, but are very easy to assemble when you follow our step-by-step directions.
Assembly of the Primary Colonnade
1. First, place two of the large columns (MOD600) with either a quarter circle (MOD648) or straight section (MOD672). Line the hole on the top of the column with the hole on the end section.

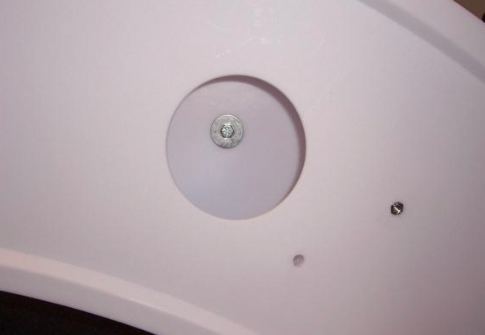
2. Next, insert the 3/8-inch bolt and washer through the quarter circle or straight section and fasten to both ends of the column.

3. Stand the column up, and place it where you want! Transportation will be easier if you assemble the colonnade near the chosen location.
*Pro Tip* Assembly is even simpler when you align and connect the columns while they are laying on the floor.
Attaching Your Arch
With your primary colonnade standing tall, attaching your arch is quick and simple!
1. Place the arch (MOD618) on top of your standing primary colonnade.

2. Now loop the supplied hook through the slot on the side of the arch, and use the bolt assembly to safely secure the arch to the top of the colonnade.
*Pro Tip* Use a small ladder for a helpful height advantage when securing the arch.

Take a moment to stand back and admire your handiwork, but you’re not through yet. Next, it’s on to decorating your colonnades!


